What is an OTA Update?
OTA or over-the-air updates for embedded Linux devices performing mission-critical functions are essential to administer device fleets by deploying security patches, feature updates, and new services.
An OTA update is essentially data that is sent and applied wirelessly to a remote device. It was popularized when the first cellular data networks for mobile devices came onto the market 25 years ago. Today, OTA data transfer updates are also being applied to firmware and software on embedded Linux and other IoT devices in use today.
In this post, we discuss why traditionally it’s challenging to update embedded devices and why we need modern cloud technology like containers adapted for embedded to remotely update embedded Linux devices continuously whenever needed. We will also run through a tutorial with an accompanying video describing how Pantacor Fleet updates software and firmware OTA.
Challenges updating embedded Linux products
When you are updating embedded firmware, embedded devices run the risk of being “bricked” if there is a problem during the update. Bricking means exactly what it sounds like, a next to useless device that may require an expensive trip from the technician to get it working again.
To avoid bricking devices, OTA systems need to be able to mitigate any of the following problems while deploying updates:
- Intermittent network connection – Connectivity might be intermittent or it can vary. You might be running an update over 5G connection or something even slower than that. In some cases the connection might not be secure. This is especially the case, if you’re sending an update through public networks.
- Unreliable power – Power may not always be something you can control. This is especially true of CSPs (Communication Service Providers) whose customers are not enterprises. Many consumer devices run on battery power and even if they’re not, there’s no guarantee the owner of the device or the owner’s dog won’t mistakenly unplug the power at any given moment and in the middle of a deployment. You’ve got to be able to deal with a device that has an intermittent power connection.
- Ability to deal with legacy firmware and software – Product lifetimes vary widely in the embedded space. Some markets like automotive can keep the same hardware for five to ten years, and for home appliances can be double that. But in the consumer electronics space, the product lifetime is much shorter from 6 to 12 months. When you’re modernizing apps, you need to be able to maintain the legacy software at the same time.
- Remote locations – As mentioned many of these devices are not always easily accessible. Many IoT devices out in the wild today have been there for quite some time. For example, do you think about whether your thermostat or your router are running the latest updates? Unlike ‘always on, always connected’ types of devices like your mobile phone, many Internet of Things (IoT) are in inaccessible locations with unreliable network connectivity.
To manage the above situations and to maintain the extreme resilience that many of these devices require, OTA deployment systems must be able to always return the device software and firmware to a ‘good state’.
Monolithic embedded updates vs. modular updates
Updating embedded Linux has not always been straight forward. Besides the above situations that can interfere with an update, there is also the problem of how software is built by most embedded teams. Usually when an update is required, developers must update a package or an app and then rebuild the entire monolith before deploying it to the embedded Linux devices.
But with a containerized approach software stacks are more easily managed as components. By containers, we mean containers that meet an open standard yet are designed specifically for embedded Linux devices that typically run on low specs with minimal resources. The majority of embedded Linux devices that make up the Internet of Things cannot run Docker Engine since it is very resource intensive.

Instead of running the container manager on top of the Host OS, Pantavisor runs in the init_user_namespace, lower in the stack where it can spin up and manage containers at initial boot time. With this kind of set up, you can then run the Host OS in containers in the userland. Running the Host OS in containers split into specific functions in userland makes your system modular and also simplifies updates. With a componentized embedded system, it also means you don’t have to rebuild the monolith each time and you can update individual components.
Hands on tutorial: transactional updates with Pantacor Fleet
In this next section, we’ll show you how to do updates to a containerized app managed with Pantavisor. In this case, we’ll upgrade Tailscale, the zero config VPN gateway and firewall rules manager for secure networks anywhere.
This example assumes that you have already downloaded and installed Pantavisor on your Raspberry Pi, installed the pvr command line utilities and have the tailscale app running in a container on your app. Follow the steps in Part 1 –Create a VPN Gateway with Tailscale and Pantavisor on a Raspberry Pi 3 before continuing.
Summary tutorials Part 1 and 2 with links to blog and videos
Part 1 of this tutorial is a written blog that goes over the basics of Pantavisor using Tailscale as an example. The links below are to individual videos describing each step:
- Have an Account on Pantacor Hub.
- Installed the PVR CLI.https://youtu.be/yyohtCcxtog
- A Raspberry PI with Panvisor running.https://youtu.be/Hp3mWTnQFDc
- (Optional) Setup SSH access to Pantavisor to see what’s inside of the Tailscale container: https://youtu.be/kO_9ND2XldE
- To see the source container, go to:https://gitlab.com/highercomve/ph-tailscale
Part 2 – Goes into a more depth in the blog and describes how to manage a fleet of devices with Pantacor Fleet. Here are the links to the videos if you prefer those:
- Setup a Pantacor Fleet account.
- Create the Fleet leader device/repository.
- Create a channel using the new device.
- Assign devices to the channel.
Sign up to Pantacor Hub and Fleet
Briefly to get Pantavisor and Tailscale on your device and running in Pantacor Hub follow these steps:
- Log into Pantacor Hub:
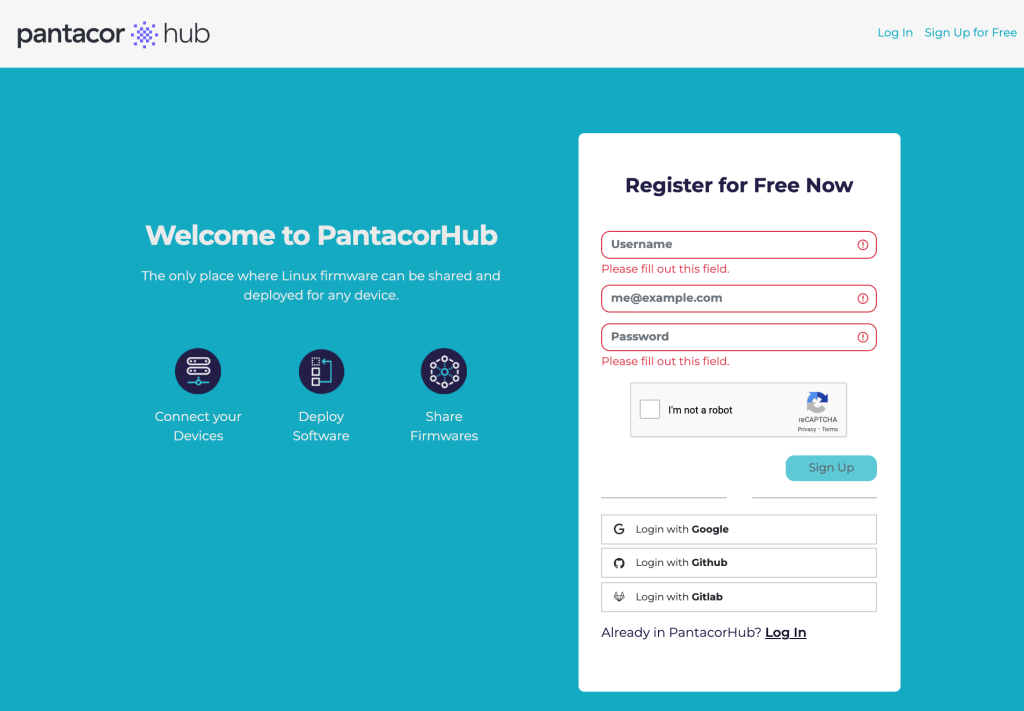
- Once you have an account at Pantacor Hub, you will automatically be signed into Fleet when you go to https://fleet.pantacor.com. After permission is granted, you should see something similar to below:
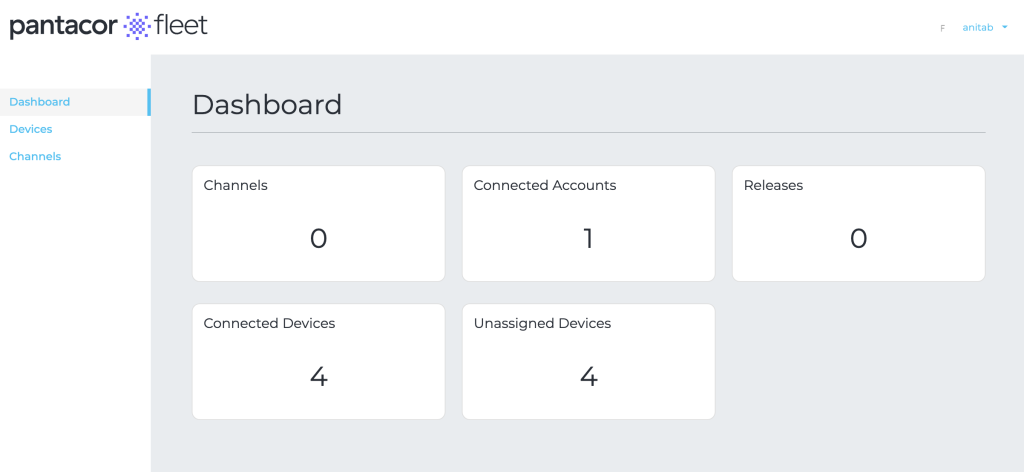
If you completed Part 1 of this tutorial and Part 2 your Raspberry Pi will be running in the dashboard in a fleet channel.
Update the Tailscale Version
We will update the app using the PVR command line utilities. It updates a single container. If you completed the two parts of the tutorial above, you can also apply the update to a channel that can contain millions of devices.
- Update to a new Tailscale version with:
pvr app update tailscale
Note:if you don’t include a revision tag with the container name, it pulls the :latest by default.
- Commit the change once it’s downloaded from the container registry:
pvr add && prv post -n “update tailscale”
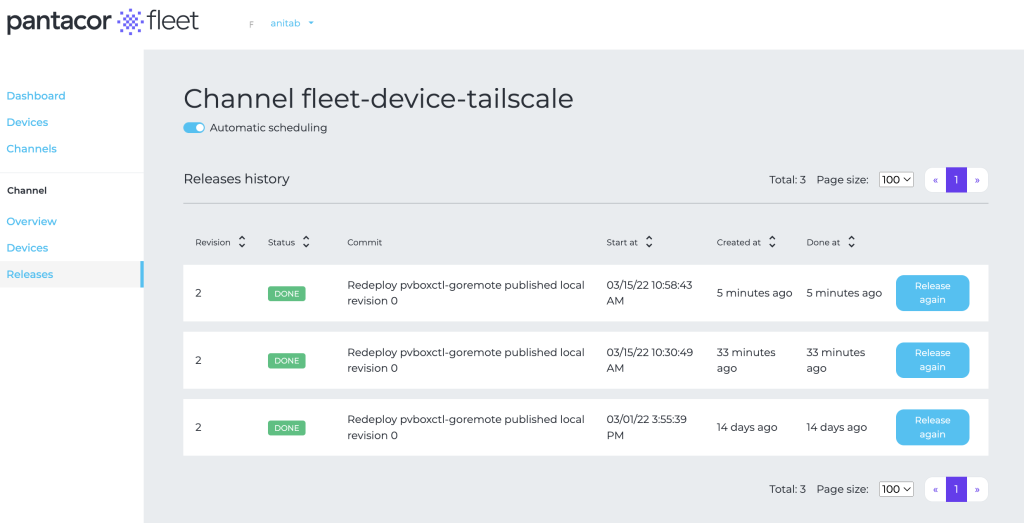
- Look to the UI to see the new update pushed to the device channel. If you have multiple devices in the channel, you will see each one as it updates and completes the entire fleet.
See also, Sergio Marin’s explanation here:
Wrapping up
In this post we described how updates are done on a transactional basis on an embedded Linux device containerized and managed with Pantavisor. An important aspect with Pantavisor is that it mitigates any potential deployment failures with the ability to rollback or roll forward, since a “good device state” is always maintained in a repository. The state repository is viewed from Pantacor Hub and Fleet and managed with the PVR command line utilities. In addition, Pantacor Fleet enables teams to manage millions of devices over the air from a single dashboard.
For more information see What is Pantacor?