In Part 1 of a new tutorial video series Sergio Marin (@highercomve), Pantacor engineer showed you how to use containers and Pantacor Hub to create a VPN gateway with Pantavisor and Tailscale on your Raspberry Pi. In this post, Sergio takes the concept further and discusses how you can easily add an additional Raspberry Pi gateway with Pantacor Fleet. Pantacor Fleet allows you to create a reference device once and define it as a “fleet leader” that can be propagated across a distributed fleet of millions of embedded devices if needed.
VPN tunnelling across separate networks
As mentioned in the last post, Sergio’s network consists of a Samba and Plex server, a laptop, and a router. However, he would like to be able to access an additional network through the same VPN tunnel using an additional Raspberry Pi as a gateway.
The following diagram shows how Sergio’s home network looks after completing the first tutorial. He’s now able to access his home network from anywhere through a secure VPN tunnel with his Raspberry Pi functioning as a gateway:
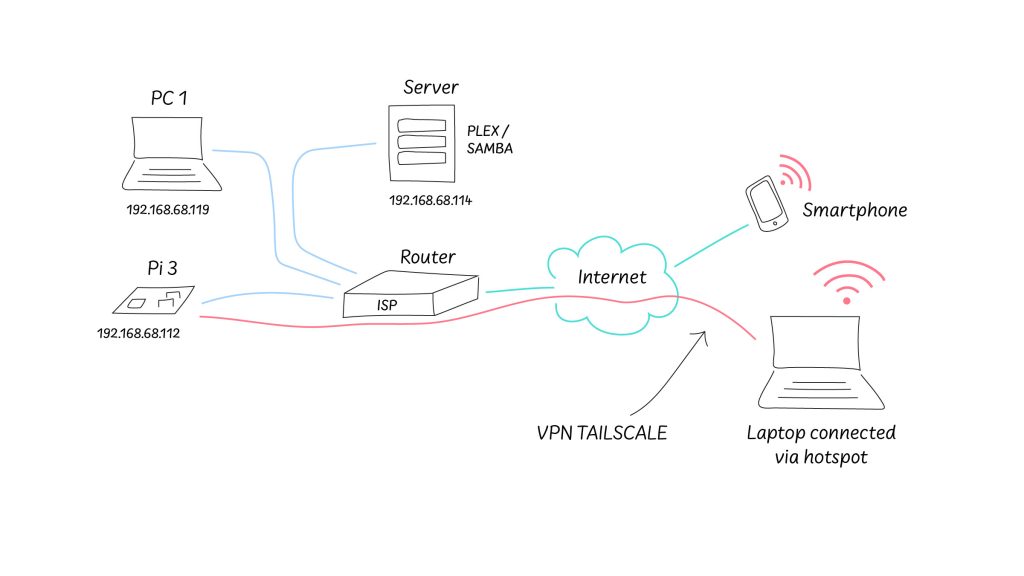
In the following tutorial, Sergio is going to show you how to set up a second gateway with an additional Raspberry Pi connecting and extending his original secure VPN tunnel so that he can also access his mother’s network:

Tutorial summary
These are the steps you will carry out to configure and manage the fleet with Pantacor:
- Setup a Pantacor Fleet account
- Create a Fleet leader device/repository
- Create a channel using the new device (channel name: development)
- Assign devices to the new channel
#1 Set up a Fleet Account
Pantacor Fleet is an extension of Pantacor Hub, adding an orchestration layer on top of Hub’s basic APIs and cloud services. It provides all of the features in Hub, but with a focus on the lifecycle management of millions of different types of devices distributed across your network.
For example, operations teams can partition device deployments into logical groups before rolling out containerized updates and new applications, providing you with fine-grained control over device fleets.
However, in this case, you will configure an additional Raspberry Pi 3 as a gateway so that you can securely tunnel through a VPN from one network with another.
To sign in to Pantacor Fleet, you must already have a Pantacor Hub account:
- Sign up to Pantacor Hub :
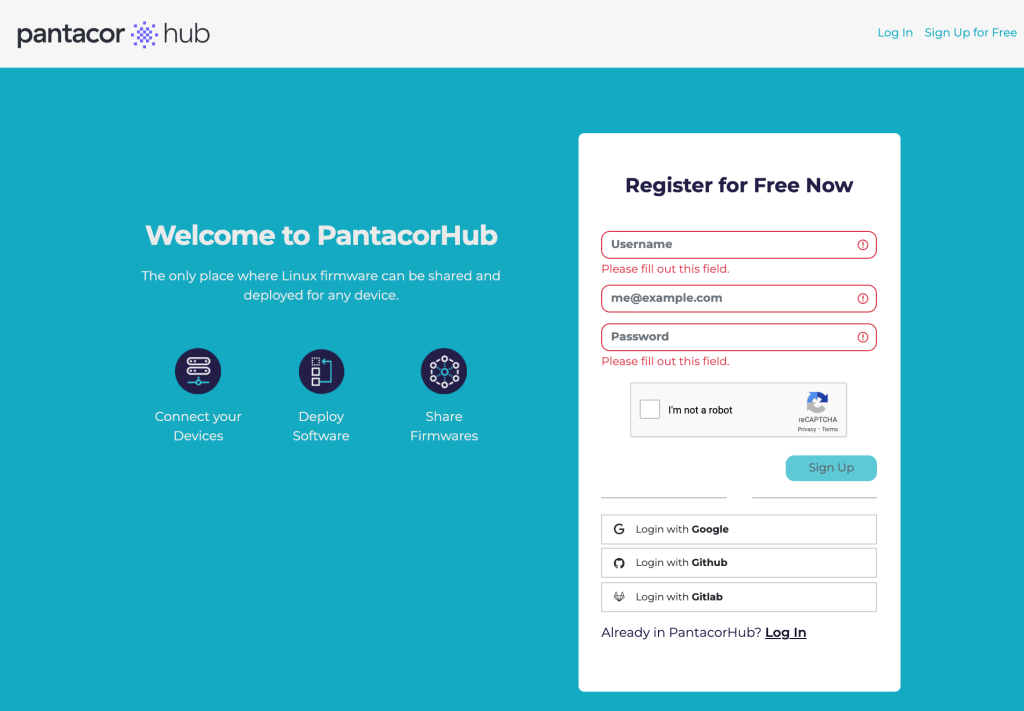
- Once you have an account at Pantacor Hub, you will automatically be signed into Fleet when you go to https://fleet.pantacor.com.After granting permission to your apps, you will see something similar to below:
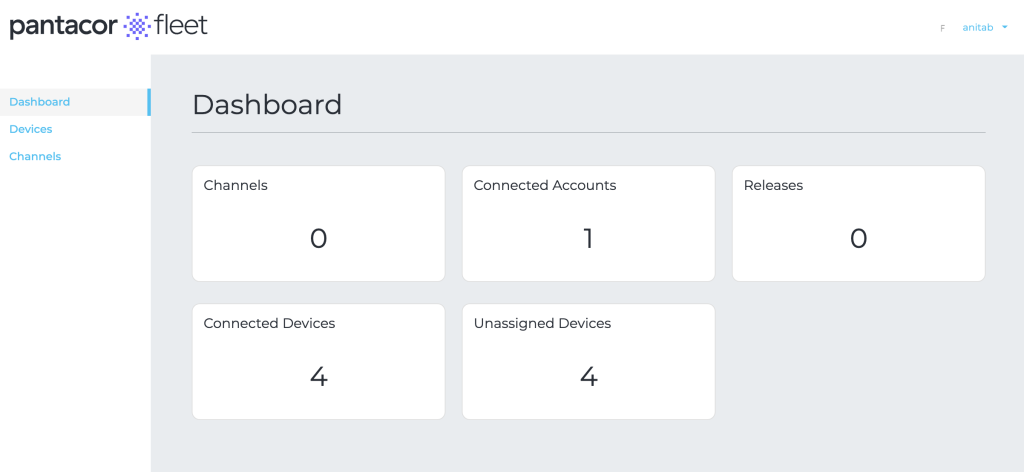
If you completed Part 1 of this tutorial, you should see your device running in the dashboard.
See Sergio Marin’s explanation below for more information:
#2. Create a Fleet leader device and repository
In this section, you will create a fleet leader device or repository. The fleet leader acts as the master reference for all devices grouped in a channel. In addition, Fleet ensures all devices in a channel are updated all at once, over the air with the same reference system.
- Click on the device to see all the configuration you set up for Tailscale in Part 1 of this tutorial.
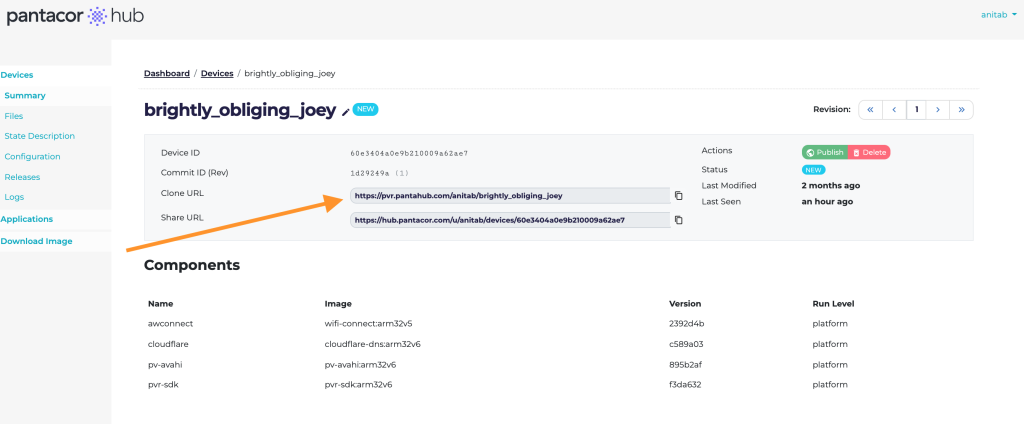
- Go to the command line and paste in the cloned device URL:
pvr clone [cloned-device-url]This command copies all of the device data over to your laptop. - Have a look inside the cloned directory and at the .json files using your favourite IDE. You’ll notice that the configuration is exactly the same as the cloned device.
- Next, create a new device from this configuration with::
pvr device create [device-group]where,
[device-group] is the name you assign to your group of devices that should receive this configuration.
The command creates a new “leader device” based on the clone of your “reference device.” It also pushes all of the configuration to the cloud in Pantacor Fleet and sets it up as a PVR repository. With the fleet leader and the repository, any changes pushed to the fleet leader will get applied to all of the devices in a channel.
See the differences between the reference device and the cloned device:
#3 Create a channel using the new virtual device
With the fleet leader established, you are now ready to create the channel associated with that particular device.
- To create the channel, first clone the URL of the leader device you created above.
- Then go to https://fleet.pantacor.com/channels and click Add New. You should see something like this:
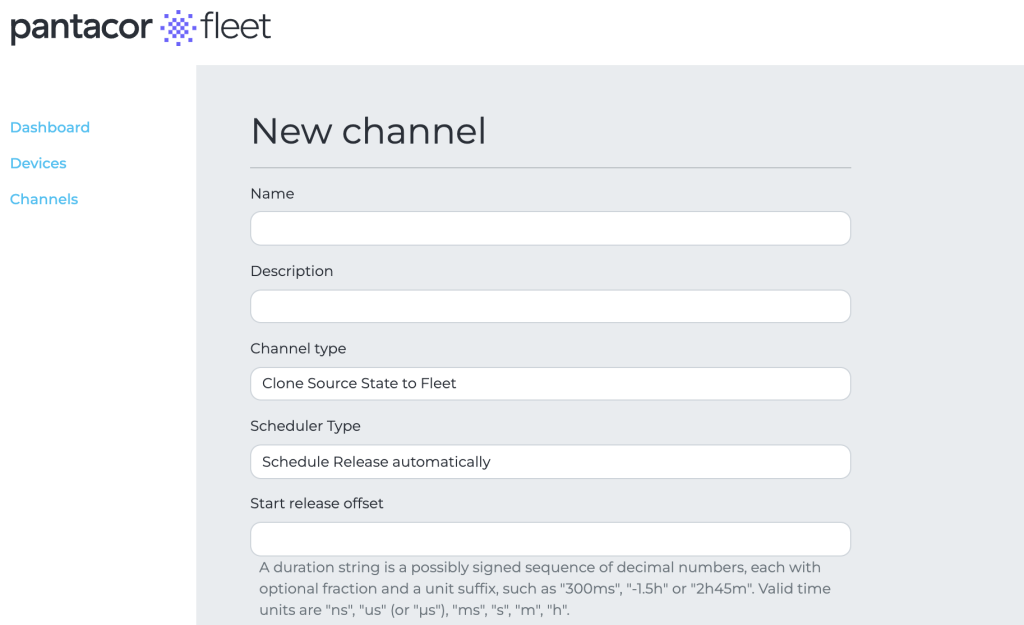
- Paste the cloned URL into the Source PVR URL field. Add a name and description for the channel and then click Create Channel.
Start release offset – indicates how long the new update should delay before attempting to update all of the devices in the channel. In this case, we will add 0s which indicates that it should not delay and deploy immediately.
Default release duration– an estimate of how long the rollout will take amoung all of your devices. In this case, set it to 5m (5 minutes).
Required labels– these are indicated in the devices’ meta data set up and if this is specified that only devices with this label will be included in the channel. If left empty all devices will be added to the channel, for example:
device-meta/pantavisor.arch=aarch64/64/EL
Selection labels– this is specified in the user-meta and it indicates which labels to include in the channel, for example:user-meta/fleet.channel={name of device]
See also Sergio Marin’s description of the other fields in this dialog:
Go back to the Device you created and be sure to add the user -meta data so that it is selected and added to the channel.
#4 Assign devices to the new channel
This section will add user-meta labels to the devices you want to include in the channel by specifying the user and device meta you added in the Required Labels and Selection Labels fields in the ‘Create Channel’ screen for any devices.
Once the device gets added to the channel, it updates the device with its current state. You can continue to make updates to the device leader in the channel, and all changes propagate to the devices in that channel.
To view what was set in the create channels screen, look at Channel → Overview.
Final Thoughts
This post walked you through Part 2 of securely accessing a home network from anywhere with a VPN created by Tailscale and Pantavisor. Specifically, we looked at managing and updating a fleet of devices using one device as a reference or fleet leader for a channel. We have only defined two devices in this case, but you can have millions of devices in a channel and repository that get updated with the same codebase. An advantage of having devices in channels is that you can also roll back to a sound system state if needed.
See our open source container framework:Pantavisor.io and deployment management tools at Pantacor for more information.